

How To: Create A Weekly Calendar Dry Erase Board

If you are anything like me, you always have a busy schedule and tend to have so much on your mind that you forget some things. So last night I made a Weekly Calendar Dry Erase Board. I will place it on my kitchen wall. My whole family will be able to see it and use it to update each other on special events and schedules. Today I will be showing you how to make it. Let’s get started.
Materials:
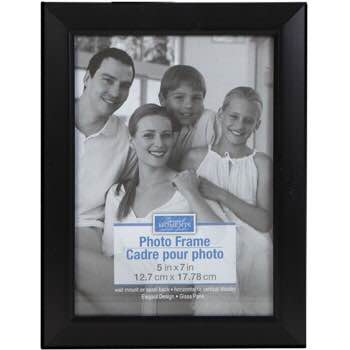
- 8 Picture Frames - Your choice of color and size. I got 8 5x7 black picture frames from the dollar store.
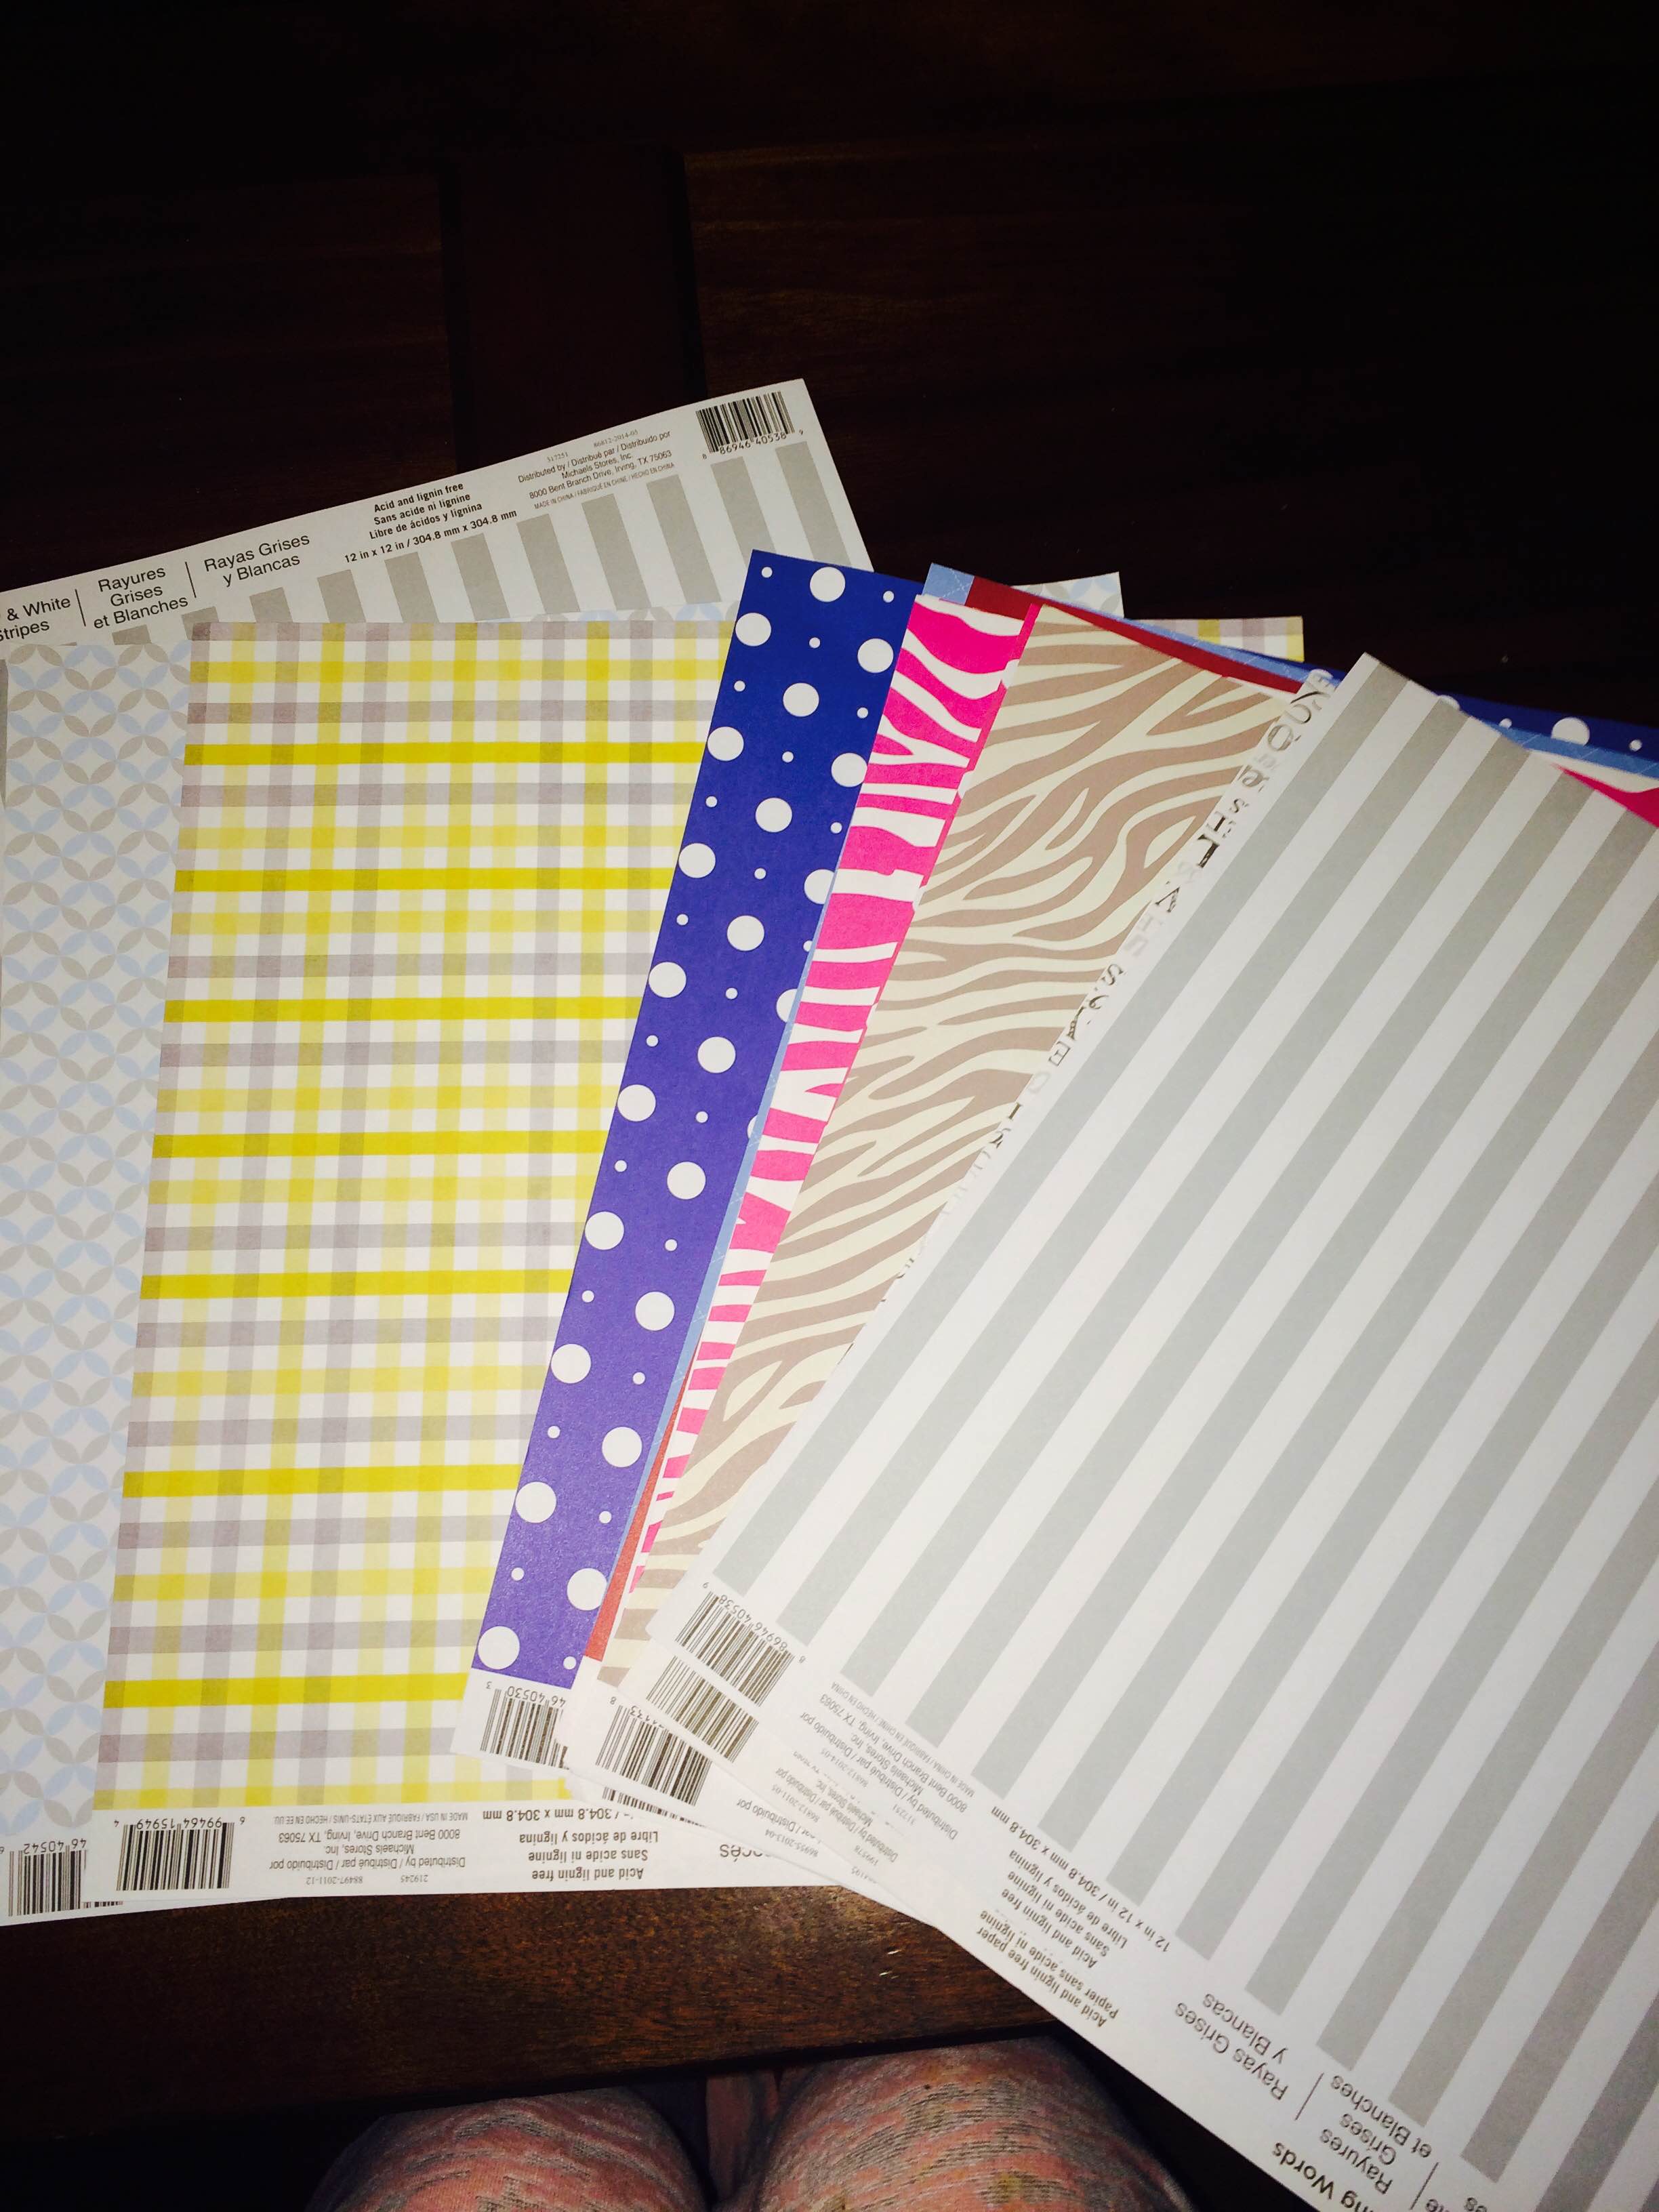
- 8 Pieces of Scrap Paper or Fabric - I used scrapbook paper. You can get it from any craft store. Use different colors and designs to make it really appealing to the eye. Try and stay away from black or dark colors so you can see the dry eraser marker when you write on it.
- Letter Stickers - I used black so it is more noticeable.
- Dry Eraser Marker
- Hot Glue Gun - Be very careful because the glue gun gets extremely hot and can cause burns if it comes in contact with your skin and/or clothes.
- Scissors
- Pen or pencil
First, you have to trace out the size of the inside of the frame on the paper. I used the glass from the frame to trace, but you can also use the paper/cardboard that comes inside the frame. After you trace all the papers, cut them out. (You can save the scraps for another project. Sometimes they come in handy for other projects.)
Next, place the paper inside the picture frame. I recommend cleaning the glass. Sometimes we get fingerprints on the glass during handling. Then fasten the backs of the frames.

Make sure to arrange your picture frames in the correct spots you want them in because once you place glue on the picture frame it dries fast and you don’t want it to dry out before you can get the frames to stick together. I overlapped the picture frames. (See picture to get an idea of how to do it.) Place glue on the picture frame place another frame on top or under hold down for 10 to 15 seconds. Then continue with the rest of the frames until they are all glued together.
After they are all glued together, place the stickers on each frame spelling out the days of the week. On the 8th frame, I used "Notes". You can use it for anything you like.
Now you are done. Just hang it up and enjoy your weekly calendar.


